Custom authorization implementation in Keycloak using Nginx
This topic would be multipurpose. I want to tell you about a powerful web-server, script programming language, and an identity provider. A lot of material already been written about Nginx. Nginx is a lightweight web-server, proxy, reverse-proxy, mail-proxy, gateway, and supports Lua scripts. Lua is a JIT-compiled programming language with light syntax. You can overview these language features at this site. There is an out-of-the-box solution with Nginx and Lua - Openresty. It exists as Win/Mac/Linux builds as well as Docker image. I want to show how you can use Nginx with Lua/Openresty for the simple case below.
The client doesn’t support OAuth authorization and can provide information only as static request headers. We have KeyCloak as the identity provider and have restricted access for k8s/Openshift cluster. We need to intercept client requests, authorize them, add additional information and send it to the necessary endpoint. We’ll use client id and secret for authorization, but you feel free to use Basic authorization type.
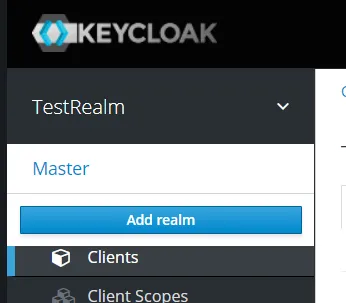
Keycloak client creation
First of all, we need to create a realm in KeyCloak. If you need multi-tenancy in your application, you should create separate realms for each tenant. You can also create a realm for utility application in your cluster.
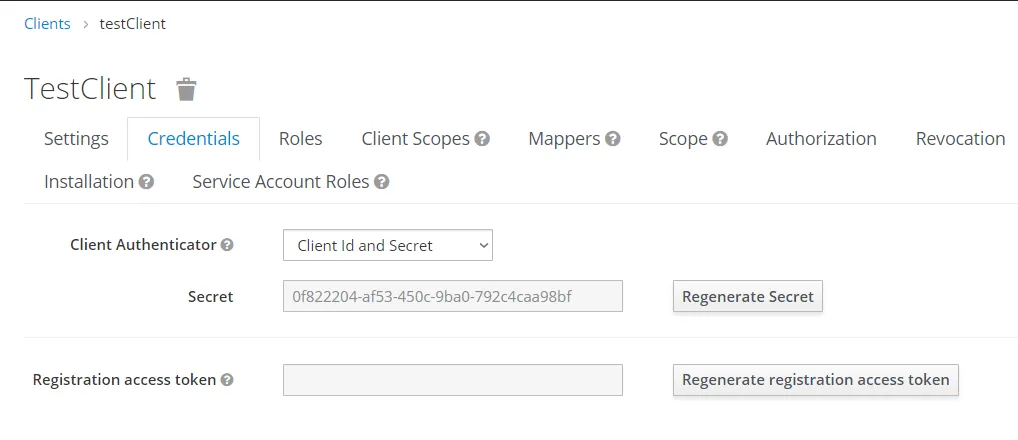
The next step is Client creation. You must set required fields, can grant business roles. Don’t forget to save the client’s secret and id. We’ll use them later.
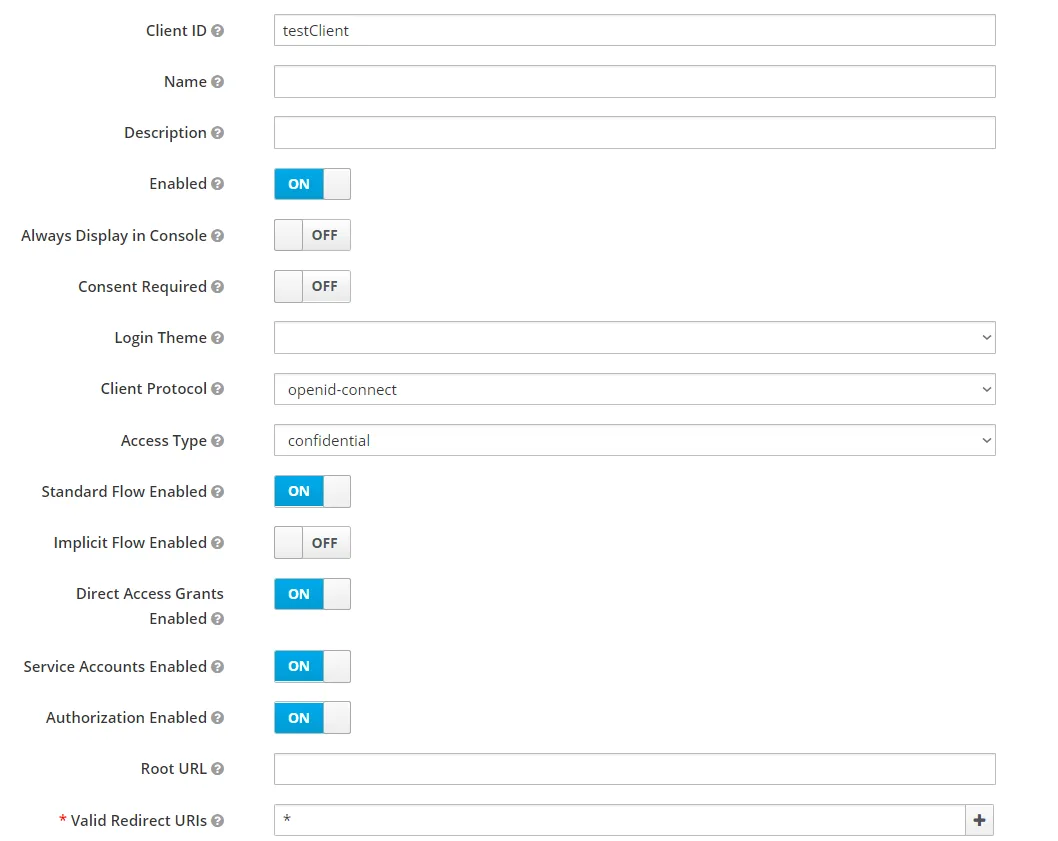
 You can get more information about OIDC Clients in the official documentation chapter 8 Managing Clients.
Nginx preparation
Enable Lua in nginx.conf:
load_module modules/ndk_http_module.so;
load_module modules/ngx_http_lua_module.so;
In additional we need two external modules: http, json.
You can keep it locally and copy in the docker container or install it with LuaRocks.
If we are intercept requests and send authorization in KeyCloak, we’ll have token regeneration for each one. It would be ok in some cases, but let’s reduce KeyCloak compute resource usage and create cache storage in our proxy. In the http section of nginx.conf initialize the global variable. This variable will contain key-value pairs. Where key - unique identifier of client and value is current access token.
lua_shared_dict custom_cache 10m;In server block set reverse-proxy paths and rewriting request by Lua script.
location /in {
  rewrite_by_lua_block { require("convertor")() }
  proxy_pass http://172.20.0.1:8082/out;
}
All requests sent on {servername}/in would be processed by a script called with require. If no error happens, it sents to the proxy_pass path.
Lua request processing
We need to create the file with a name that we are defined above. In convertor.lua defines the anonymous function:
return function()After that, get our custom cache and assign to the local variable.
local customCache = ngx.shared.custom_cacheThe next step is getting KeyCloak client information from request headers. In this example I’ll use three headers without any encryption. This is not secure rather with https, use Authorization header for the such sensitive information!
local realm = ngx.req.get_headers()["realm"]
local client = ngx.req.get_headers()["client"]
local secret = ngx.req.get_headers()["secret"]
Then call KeyCloak REST API via http module:
local http = require "http"
local httpClient = http.new()

local response
local err
Try get token from cache and validate it with calling userinfo:
local accessTokenFromCache = customCache:get(clientIdentity)
if accessTokenFromCache ~= nil then
local bearerHeaderFromCache = string.format("Bearer %s", accessTokenFromCache)
-- Get user info to token validation
        response, err = httpClient:request_uri(keycloakUrl ..
                '/auth/realms/' .. realm .. '/protocol/openid-connect/userinfo', {
            method = "GET",
            headers = {
                ["Authorization"] = bearerHeaderFromCache,
            }
        })
    end
If response have no 200 code, call API for a new token creation:
response, err = httpClient:request_uri(keycloakUrl ..
        '/auth/realms/' .. realm .. '/protocol/openid-connect/token', {
    method = "POST",
    body = ngx.encode_args({
        client_id = client,
        grant_type = 'client_credentials',
        client_secret = secret
    }),
    headers = {
        ["Content-Type"] = "application/x-www-form-urlencoded",
    }
})
Then parse response JSON and get the new token.
local json = require "json"
local newAccessToken = json.decode(response.body)['access_token']
customCache = ngx.shared.custom_cache
customCache:set(clientIdentity, newAccessToken)
The last step is setting new token to the cache, set it to the Authorization header, and remove old headers with the sensitive information.
local accessToken = customCache:get(clientIdentity)
local bearerHeader = string.format("Bearer %s", accessToken)
ngx.req.set_header("Authorization", bearerHeader)
ngx.req.clear_header("realm")
ngx.req.clear_header("client")
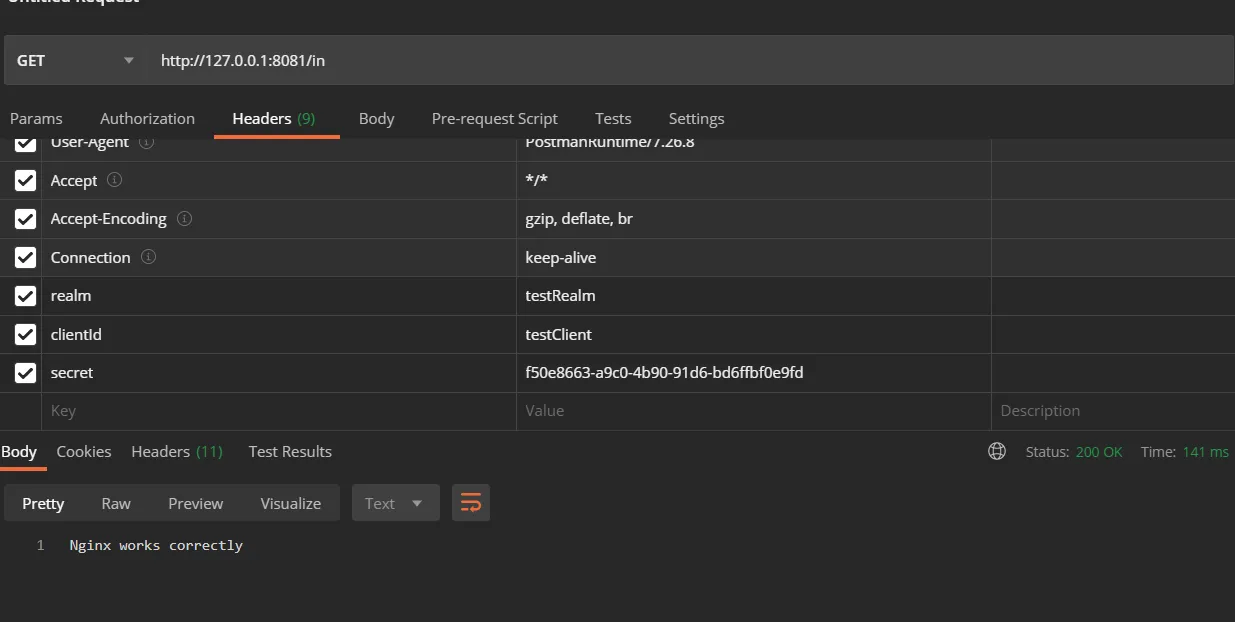
ngx.req.clear_header("secret")Let’s see how it works. I’ll use docker-compose for running KeyCloak, Openresty, and Spring Boot application as backend. All applications define as services with required settings in docker-compose.yml. All docker images build previously.
version: '3'
services:
  nginx:
    image: nginx:1
    container_name: nginx_container
    restart: always
    ports:
      - 8081:8081
    networks:
      - mybridge

  nginx-consumer:
    image: nginx/consumer:1
    container_name: nginx_consumer_container
    restart: always
    ports:
      - 8082:8082
    networks:
      - mybridge
  keycloak:
    image: quay.io/keycloak/keycloak:latest
    container_name: keycloack
    restart: always
    environment:
      - KEYCLOAK_USER=admin
      - KEYCLOAK_PASSWORD=admin
      - PROXY_ADDRESS_FORWARDING=true
    ports:
      - 8080:8080
    networks:
      - mybridge

networks:
  mybridge:
    driver: bridge
    external: true
The main thing is setting one own network here. You can create a local docker network via
docker network create mybridgeAnd then, you need to define docker host IP instead of localhost in configurations and applications. In this case, all services with mybridge can have cross-container communication. We can test our proxy. In Postman, set headers (realm, client, secret) and send the request.
All things can be simpler, but you can find your case when you can apply this knowledge.
Source code is available on github.